By default, Milcraft gives you access to webmail. This webmail runs on Roundcube and can be accessed at the URL: http://www.yourdomainname.co.uk/roundcube.
Login
You can log in by entering your full e-mail address and password on the login screen.
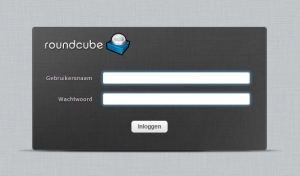
Roundcube webmail login screen
When you switched to Milcraft, you received a very strong password. We recommend that you use this for the security of your mailbox. Change this password regularly for a new one. We recommend doing this every three months. Choose a new password of similar strength.
A handy tool for keeping track of many and long passwords is KeePass.
Should you still wish to replace the password, you can do so in Roundcube at settings > password. Keep in mind that if you change the password in Roundcube, it will also change for your mail client on your PC, laptop, tablet and/or phone....
Roundcube basic functions
Below is a screenshot of Roundcube's main screen. You will see this immediately after logging in.

- Overview of your mails. You can sort them by date and sender, among others, by pressing date or sender above the column.
- Inbox: This is the main folder of your mail. All mail arrives here.
- Compose: Sets up a new e-mail.
- Junk E-mail: This is where all mail marked as junk by the spam filter ends up. Look in here regularly because "good" mails can also end up in there.
- Search: Here you can search all mails.
- Address book: Here you can store mail addresses and mailing lists. Keep in mind that this is a different address book than in, for example, Outlook. It is possible to import e-mail addresses into Roundcube.
- Settings: Here you can adjust your password, create folder structures and language settings, among other things.
- Marking: Here you can mark mail as read and unread, among other things.
Create and send e-mail
Mail formatting is much like the default editor in WordPress and Word. Below is a screenshot showing basic features.
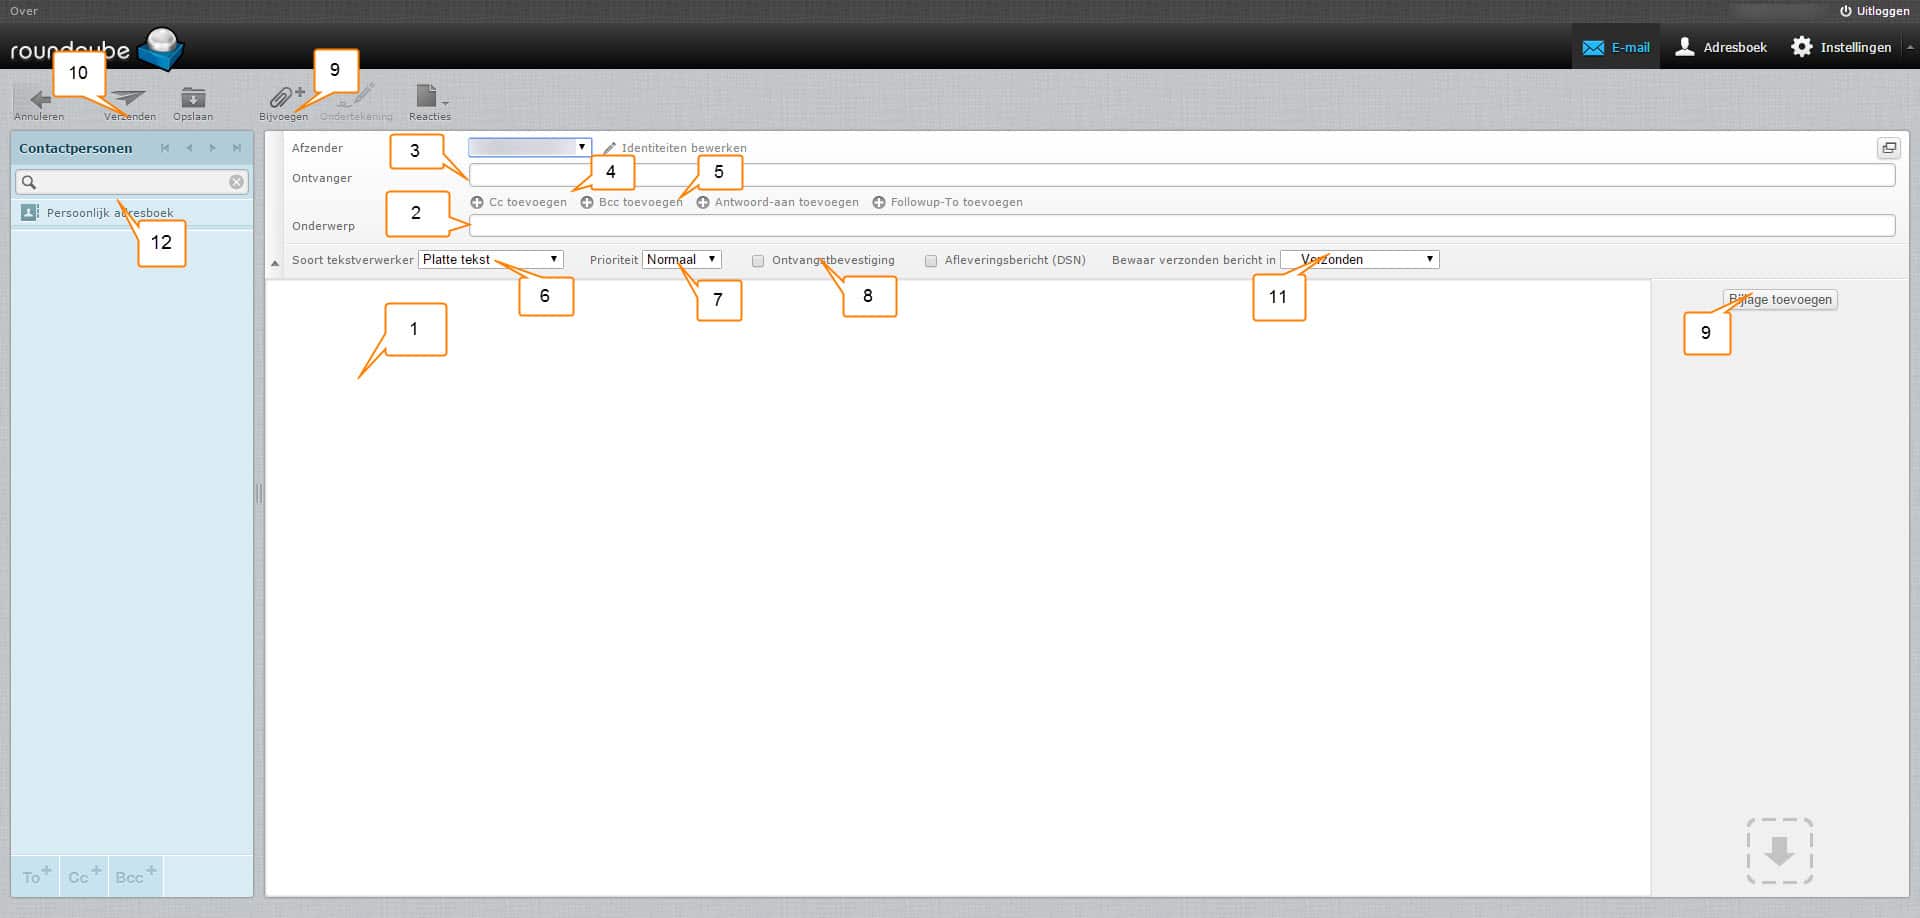
- The area where the text of the mail can be placed
- The subject of the mail
- Recipient: Insert full e-mail address here
- C.c.: Here you enter the e-mail addresses of people you want to send a copy of the mail. The recipient will see that you are sending these people a copy.
- B.c.c.: Here you enter the e-mail addresses of people you want to send a copy of the mail. The recipient will see not That you send a copy to these persons.
- Here you can choose between Plain Text and HTML. In short, plain text without formatting and HTML with formatting.
- Here you can enter the priority of the mail in question. If it is a mail with default priority you can leave it unchanged.
- You can tick this to receive an acknowledgement of receipt.
- The button allows you to add an attachment. Think of a photo or pdf file.
- Use this button to send the mail.
- Here you select which folder the mail should be moved to after sending. You select this before pressing send.
- Here you can select a contact or mailing list you want to send the mail to.
Should you have further questions, you can ask them via the ticket system of the ticketing system or phone number 0172-897789